Whether you’re a streaming gamer, a parent working online, or someone that regularly chats with friends and family over Zoom or Skype, you’ve probably been in a similar situation at least a couple of times.
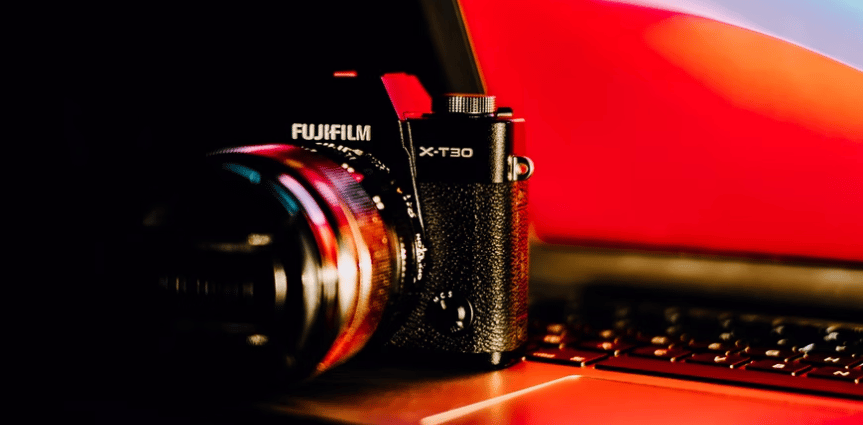
Although I would be wrong to claim that great webcams are hard to find, in fact we’ve covered some great webcams and conference cameras here, I would like to suggest something a bit different here – using a DSLR or a mirrorless camera as your webcam.
This idea certainly isn’t new; thousands of streamers, influencers, and even many professionals in the tech industry have already boarded the bandwagon.
If you’ve thought about using your DSLR or mirrorless camera as a webcam but for whatever reason never got around to doing it, I’d like to help you realize the benefits it brings, and how to do it properly. Without any further ado, let’s jump straight in:
Camera Software & Why You Need It to Set Up a DSLR as a Webcam
The brands that build and sell DSLR cameras utilize different materials and manufacturing techniques, but some of them also feature utility-packed camera programs.
While most cameras don’t need special software for photos, you’ll need a program to select and set your DSLR as your webcam. This will allow you to fine-tune a range of settings, such as video resolution, quality, effects, contrast, brightness, and more.
Furthermore, these programs will help you cast the video onto your PC/laptop screen, effectively transforming the DSLR into a webcam.
Not all cameras feature built-in software, but if you own a model from a reputable brand (Nikon, Canon, Sony, Fujifilm, Olympus, and such), the chances are that you can download software from the brand’s official website.
For reference, these are the names of the camera programs from the most popular DSLR manufacturers:
- Nikon offers the Nikon FX;
- Sony’s camera software is Sony AP
- Canon offers the EOS Utility Software for EOS-series cameras
- Fujifilm’s Studio works with the majority of DSLRs from this brand
- If you own an Olympus DSLR, download OS Workspace Software
In case there aren’t any programs built into your camera and you can’t find a download link on the manufacturer’s site, you can still choose from a range of webcam and camera apps for pretty much any OS.
The process of setting up a DSLR isn’t complex per se, but there are quite a few steps that you should follow.
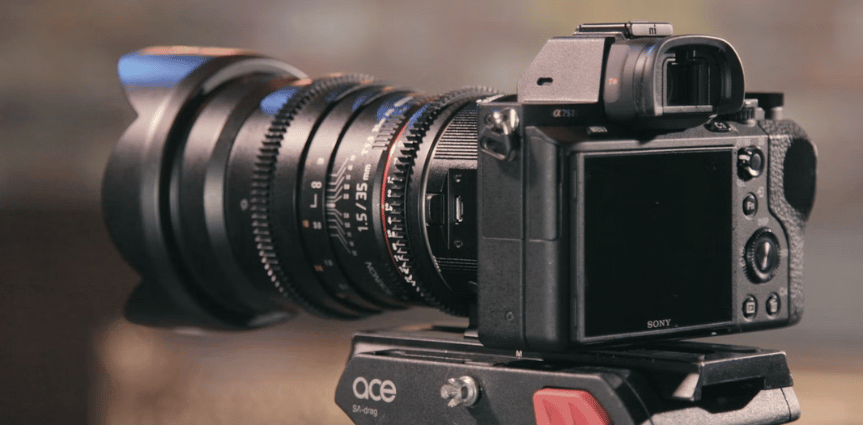
The basic elements and tools you’ll be using are the same for all DSLRs and mirrorless cameras. In short, you’ll need to keep the camera continuously charged, connect the capturing device with an HDMI cable, download the settings customization program, and enable the camera as your currently active video capturing device.
There may be additional steps when using certain cameras, especially models with outdated software, but this would be the gist of it. Let’s start from the top:
Step 1: Keep the DSLR/Mirrorless Camera Charged
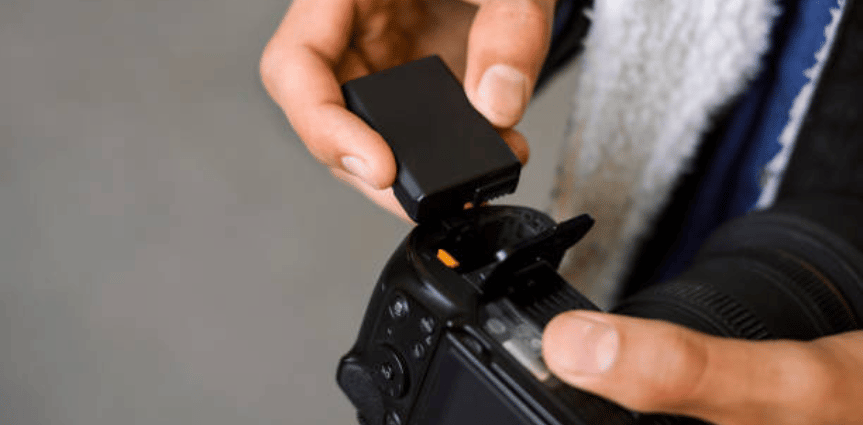
I’m going to recommend this as the first step because I strongly believe that this is a habit you’ll certainly want to develop, especially if you’re streaming or gaming.
In my research, I’ve found that the battery lifespan of an average camera is about 8 hours. However, the battery will last this long if the camera is simply ‘on’, not if you’re continuously filming or shooting photos.
When you’re using a DSLR or a mirrorless cam as a webcam, you’ll mainly use its video capturing capabilities, meaning that its battery power will drain at the fastest rate possible. For some types of batteries, this could be up to 3-4 hours, but more often than not, it’s around 2.5-3 hours.
Consider Li-Po over Li-Ion batteries
I’d also like to point out that this is a step you should not skip if your DSLR is using Lithium-polymer (Li-Po) batteries. They don’t pack as many power cells as Lithium-ion (Li-Ion) batteries, meaning that they won’t be able to last as long.
Even though most digital cameras use Li-Ion batteries (precisely because of the flaws I’ve just mentioned), you could’ve bought Li-Po replacements by accident. Li-Ion batteries degrade much faster, and as far as I gather, that’s why people are switching over to Li-Po, hoping they will be better long-term.
Connect the camera to the PC with a USB cable, or if you have space, connect it to its own charger. I have a tall piece of furniture right next to my PC, so I’m using the latter option to avoid unnecessary ‘pressure’ on my computer. The important thing is to keep the battery charged, though, it doesn’t matter which way.
Step 2: Connect the Camera with an HDMI
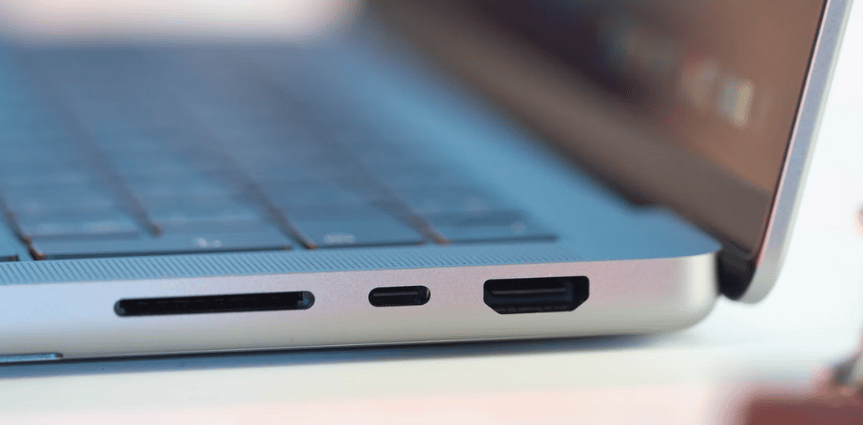
The simplest way to connect a mirrorless or a DSLR camera to a PC/laptop is via USB cable. However, I’m going to recommend against that, since we’re talking about quality video and audio.
I have a friend working in the networking industry who has helped me understand why using an HDMI is much better, so I’ll be brief.
HDMI Cables Offer Superior Reliability
First of all, HDMIs are built with many different technologies and are capable of configuring optimal video/audio formats on ideal resolutions automatically. If your DSLR or mirrorless is set on full-auto as well, you’ve hit the jackpot, as the combination of these two will yield much better results without you touching anything.
They are Sturdier and More Dependable
Secondly, if your cable management skills aren’t exemplary, there’s a high chance that your USB cable will degrade quickly. The flimsiness of an average USB has unreliability as a side effect while the direct opposite is true for HDMI cables.
This is a general recommendation for professionals that use webcams to communicate with their colleagues and gamers, as well as streamers that make their bread and butter by streaming their content.
Simply connect the camera to your PC/laptop by plugging one end of the HDMI into the camera and the other into the computer or laptop. You’ll notice a significant difference if you’re using a quality camera.
Step 3: Download Camera Settings Software
What separates DSLR and mirrorless cameras from more ‘basic’ digital camera types is the array of photo and video customization options that the former has to offer.
With a regular digital camera, you’re usually stuck with clunky autofocus, non-changeable lenses, and such. Furthermore, picking up the camera every time you want to make tweaks isn’t something you’ll want to do if you’re already live (regardless of whether you’re streaming or having a video conversation). That’s why video recording studio programs exist.
Free Webcam Software
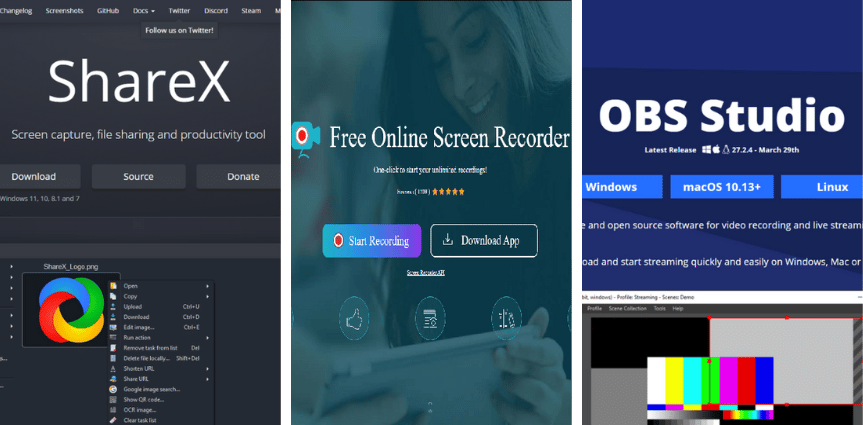
These programs are free to download and are pretty easy to use. I warmly recommend that you give ShareX, Apowersoft, or OBS Studio a try if the manufacturer of your DSLR camera doesn’t support proprietary camera software.
ShareX
This is a free open-source screenshot tool that supports capturing and recording videos. The installation part is simple, although you may need about half an hour to set it up.
After choosing the correct output, the program will automatically attempt to recognize the video hardware. If that’s not the case, you can set your DSLR as your webcam from the ‘Capture’ screen.
The main reasons I’m recommending ShareX are its versatility and the fact that it’s free. You can fine-tune numerous parameters and use it as a screenshot capturing tool, perform light edits on your photos and videos, and record or stream in multiple supported formats.
Apowersoft
What separates Apowersoft from ShareX is ease of installation and setup. This app allows you to record your screen with the click of a button, although it’s not as well-rounded.
Apowersoft supports MP4, GIF, ASF, WMV, MPEG, FLV, and AVI output formats and offers simple integrations with online communication tools, such as Skype or GoToMeeting.
The Apowersoft app is arguably one of the most straightforward webcam apps out there, allowing you to set your DSLR up as a webcam, stream, and record, as well as upload any footage on the RecCloud storage.
OBS Studio
The Open Broadcast Software, or simply OBS Studio is one of the most heavily acclaimed free webcam apps available on the market.
With an intelligent and clean UI, a host of powerful features, a broad range of filters and effects, as well as extensive support for all popular audio and video formats, its performance is astounding.
Setting up custom scene templates or mixing audio in a streamlined fashion is a breeze in OBS Studio, but its best feature is the ability to tweak pretty much anything, from resolution and FPS, to color range and buffering type, to customizable hotkeys.
Premium Webcam Software
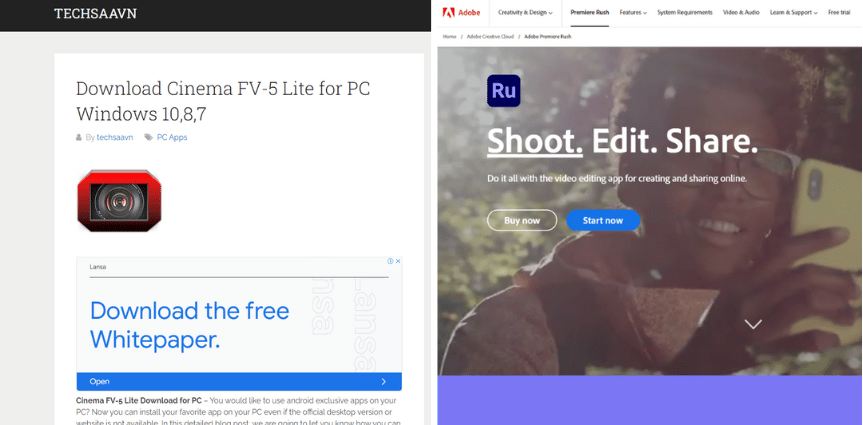
If you’re searching for quality and something more versatile, there are tons of interesting premium video recording programs as well, such as Cinema FV5, Camera Plus, ProCam, Filmic Pro, and the most heavily acclaimed one, Adobe’s Premiere Rush.
These programs work with both desktop and smartphone devices, although the desktop versions usually come as ‘Lite’ iterations of the smartphone-based originals.
Cinema FV5
Cinema FV5 is an advanced video capturing and streaming app that offers a host of exquisite features, such as cutting-edge autofocus, simplified focus lock, autoexposure, as well as multiple focus modes.
Adobe Premiere Rush
For business use, Adobe’s Premiere Rush may be a bit too advanced, but it goes without saying – it’s the strongest, best-rounded, and most valuable webcam app out there.
This program is state-of-the-art software packed with an array of advanced features, such as customizable transitions and titles, instant streaming to social networks, adjustable speed of recorded video and audio, video enhancements, and more.
Why I recommend Using a DSLR/Mirrorless Camera as a Webcam
Given that the use of DSLR and mirrorless cameras as webcams isn’t in full swing yet, I’d like to point out a couple of reasons why you should at least consider hopping aboard the bandwagon.
First and foremost, you’ll have a powerful tool at your disposal equipped with an arsenal of advanced features and digital technologies.
You can use them however you see fit; whether you’re into vlogging, in need of a better-sounding camera mic for your video conferences, or if you’re a professional wedding photographer, a DSLR/mirrorless camera will enable you to take premium quality shots and videos on top of streamlining your streaming process.
Why I Don’t Recommend Using a DSLR/Mirrorless Camera as a Webcam
The only thing that stands in the way of using a DSLR/mirrorless cam as your webcam could be the price tag. Namely, the price gap between an average webcam and a budget DSLR is measured in hundreds of dollars.
If you don’t mind the poor video quality and low versatility, it is always possible to use your PC’s built-in webcam or a purchased webcam for emergencies. But if you are wanting to bring professionalism into your streaming, a DSLR or mirrorless camera might be the way to go.
Conclusion
Using a DSLR or a mirrorless camera as a webcam isn’t too hard. Just remember to keep it charged and consider using an HDMI cable, but if you don’t have one, a USB cable would do the trick just fine.
You don’t have to use the camera setting software if you don’t want to, but I highly recommend it, as loads of free programs with shallow learning curves are available.
I hope that you’ve found this article helpful, and if you’re on the market for the best vlogging cameras, make sure to check my review of the 19 Best Vlogging Cameras for 2024. The selection includes some of the finest DSLRs and mirrorless cameras that money can buy, so feel free to comment on your favorites below.
Photo Credit: Unsplash